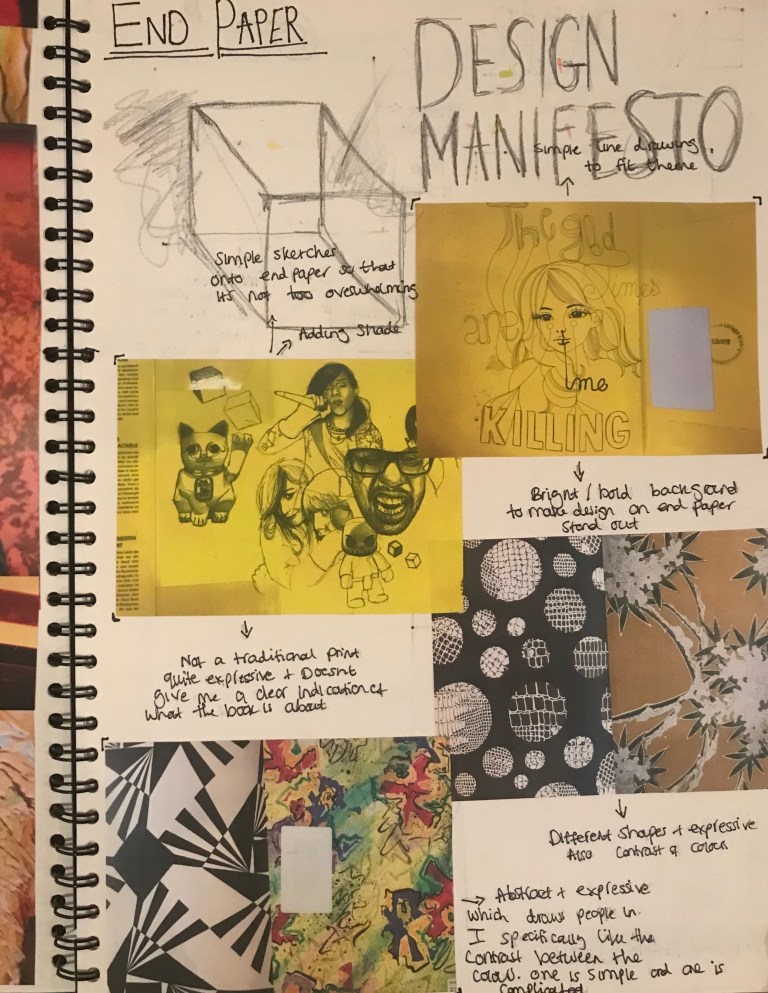
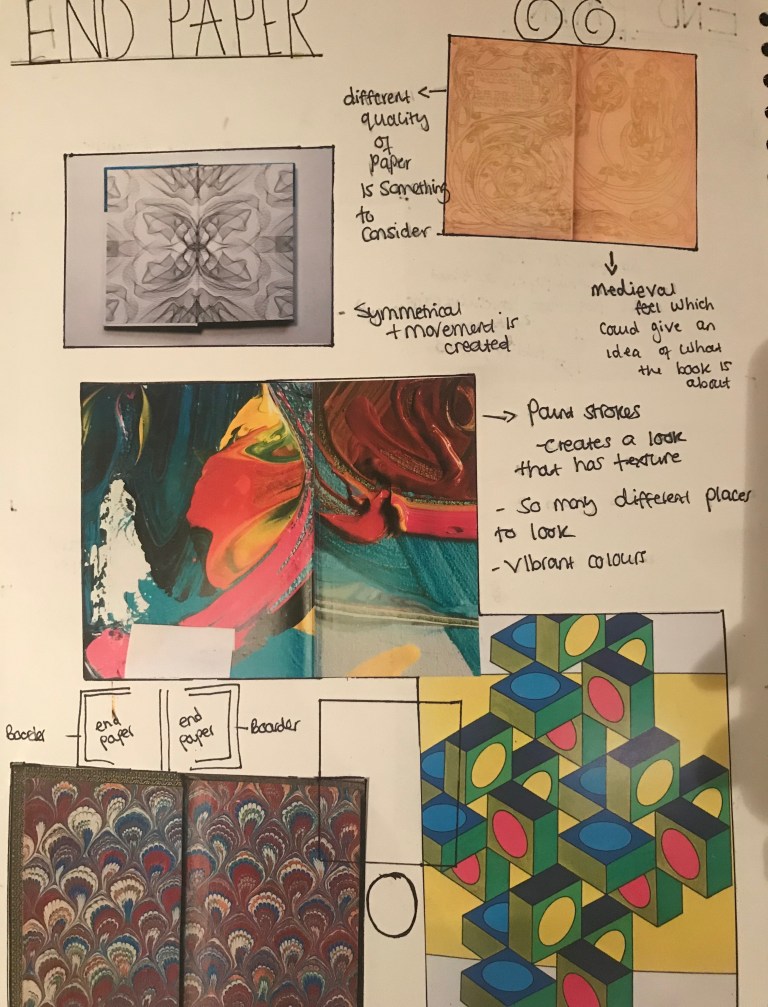
To begin with my research I looked at a few different books from the library and chose some designs that I felt reflected what I would want my end paper to look like. Doing the research helped me because it gave me a variety of different ideas to choose from and become inspired by. From the colours to design.
Once I did my research and looked at the different end papers, I experimented by sketching small designs that could become an option for my end paper. Sketching out my designs before drawing onto the Lino paper was necessary because I didn’t want to make any mistakes. However I ended up changing my mind half way through creating my final design.
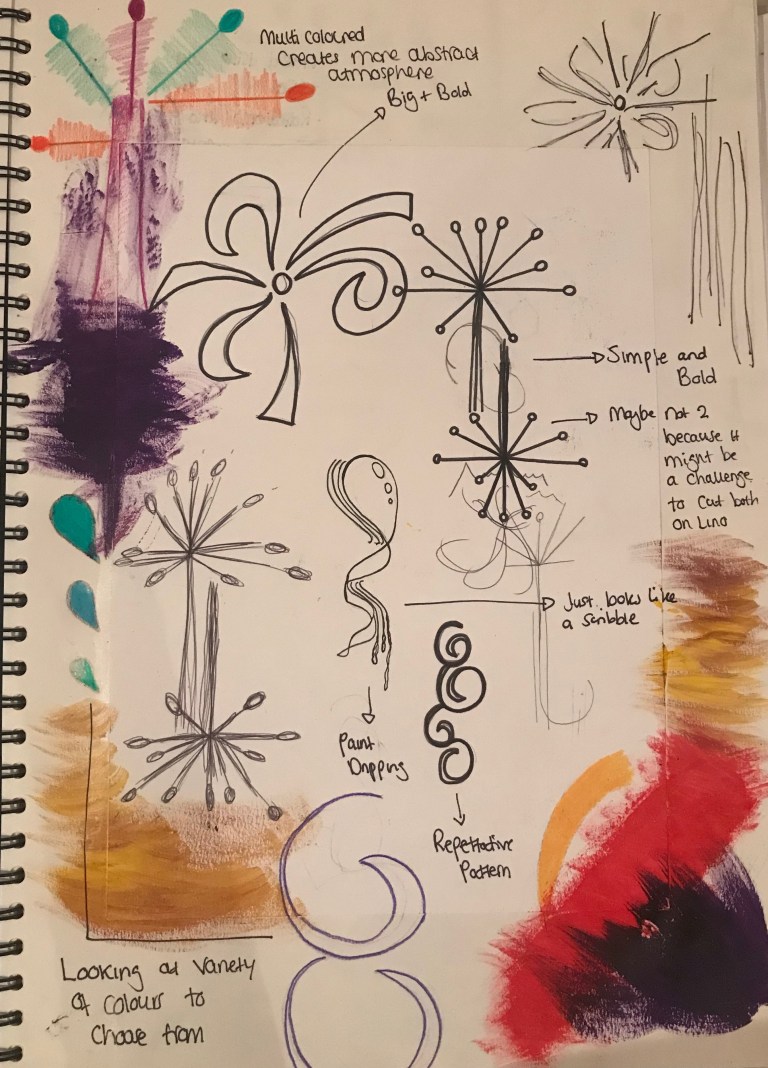
I found that it would be much more difficult to cut around the Lino if there was too much detail and so the simpler the design, the easier and faster it would be to cut around. When using the Lino cutter I found that it was an easy job to cut around it because it would glide straight off of the Lino. I only had an issue with creating a deep cut which I realised would later be a problem when applying the paint. If I had more time I would’ve created a much more detailed design however I felt I didn’t have enough time to reach my full potential. Also the idea was to create an abstract design to match my theme but once I had cut around the Lino I felt that it looked like a tree which could confuse people about what the concept of the book is. I asked around to get some feedback and others agreed that it looked bold but not very abstract. To create a more abstract feel I decided to use different colours for my print. Overall I was pleased with my progress throughout the session as I had to start again when the lino cutter would cut into the design I had drawn which was frustrating but the second time round I was able to successfully cut through it.


