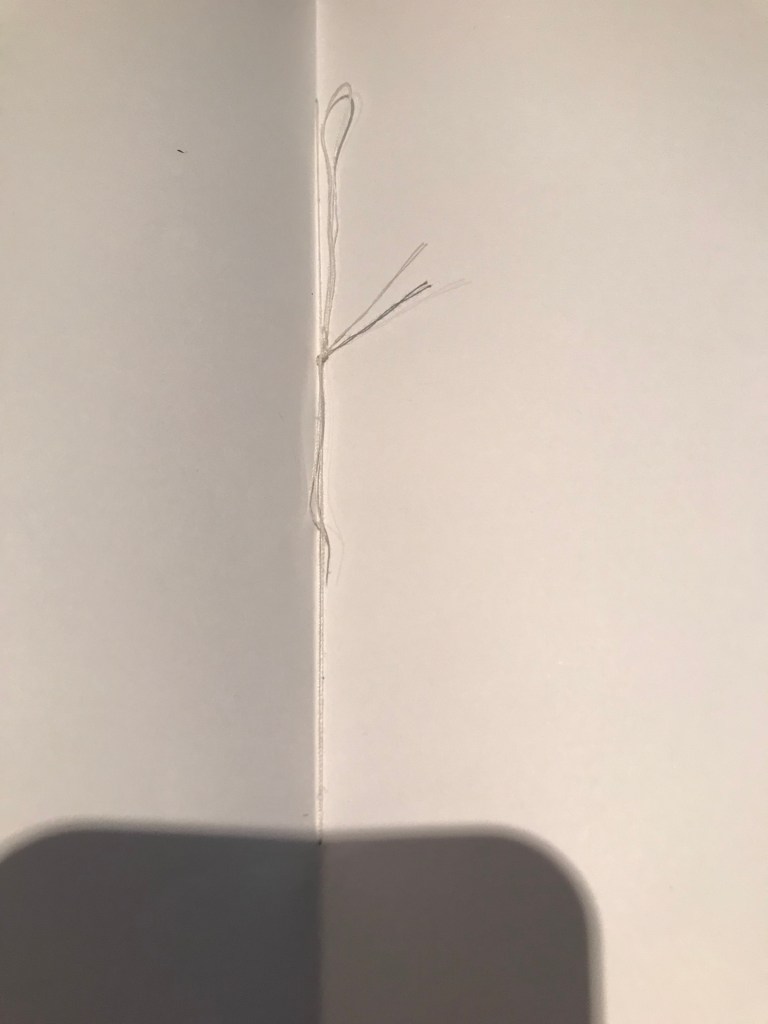
To begin, as I already had put my book cover together, I had to now put the pages together. Once I had printed my pages off I used the method of stitch binding to put the book together. I had to ensure that the holes that were poked for the thread to go through were even so that when I would fold the book the pages would align correctly. I did end up having to poke multiple holes but just made sure to putt the needle into the right ones at the end. Because the paper was quite thick and when stacked together it was harder to put the needle through them. I had to make sure that the thread used wasn’t too short or too long. I kept it long so that I could just cut it down if it was too long once I had the book bound.
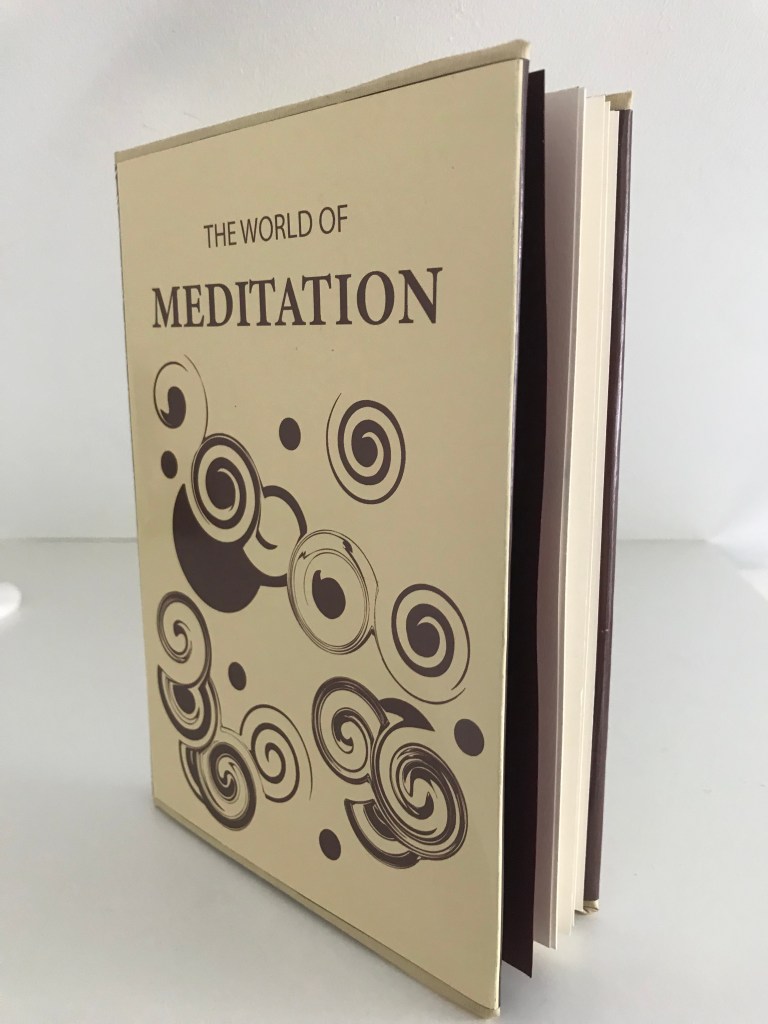
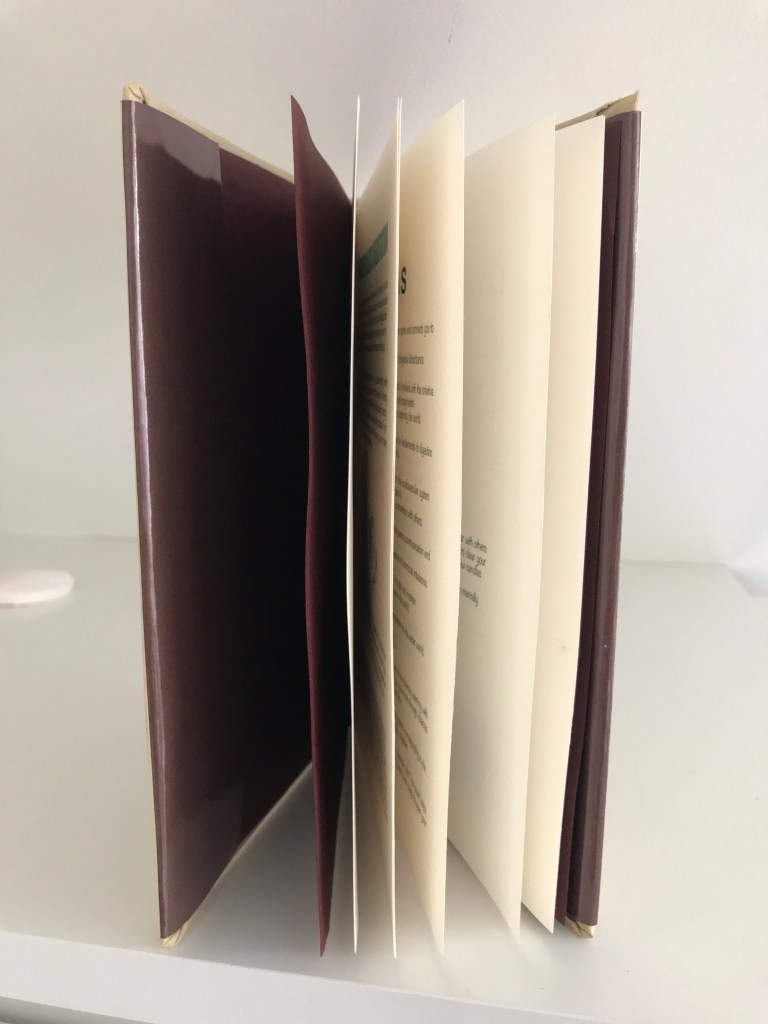
Overall I was pleased with the final outcome. When I first glued the end paper to the back edge of the book and onto the board which was my book cover I found that the book became quite uneven and when I would close it the pages would not be aligned with the cover and so would look uneven and be sprouting out of the book. To fix this problem I gently tore the end paper off of the card and re applied it in the position I wanted to. All the materials that I used were very strong and were good quality, because of the amount of card in the book it became quite stiff. I just exercised the book by gently continuing to open and close the book. The end paper stuck down well and I didn’t have any parts peeling off and also was a nice texture to add to the book. However I found that because the paper that I chose to use for the book cover was a glossy material, it kept slipping off of the book. To fix this problem, I decided to glue the dust cover onto the inside of the end paper. This secured it and the book opened and closed much easier and with less hassle.