Our task for this session in 3DCP was to create a stable bridge that could carry the weight of an electric car and successfully carry it over the bridge without any faults. It also had to stand on its own and by placing a table under the bridge we measured how high the bridge had to be. With the help of the other members on the team and their contribution of new ideas, we were able to successfully create the bridge using a limited amount of materials. To begin, it seemed like this was going to be a difficult task, we were all trying to come up with a way to keep the bridge upright but also make it exciting and interesting to look at. Although there were a few issues along the way, with the help of every team member we were able to solve the problems. To begin, we needed to create a simple structure and see if the bridge would be able to stand on its own, so using the tape we stuck the pieces of bamboo sticks together holding the sticks together as a team to ensure we could achieve the curve that we wanted. The aim was to create to arches, one would be the one that the car drives over and the other one for aesthetic purposes. We wrapped the rubber bands around the bamboo sticks to create friction and hold the bridge in position. It also created a really nice effect. We also had to make sure that our bridge was firm. To make sure that the bridge didn’t collapse we layered several amounts of tape onto the bamboo stick and table. Towards the end however, we did find the bridge begin to slightly life off the table which meant that the height kept being affected and the bamboo sticks would touch the table. Because of this we had to keep readjusting the bridge by moving the tables closer together so that the bridge would gradually lift itself up.
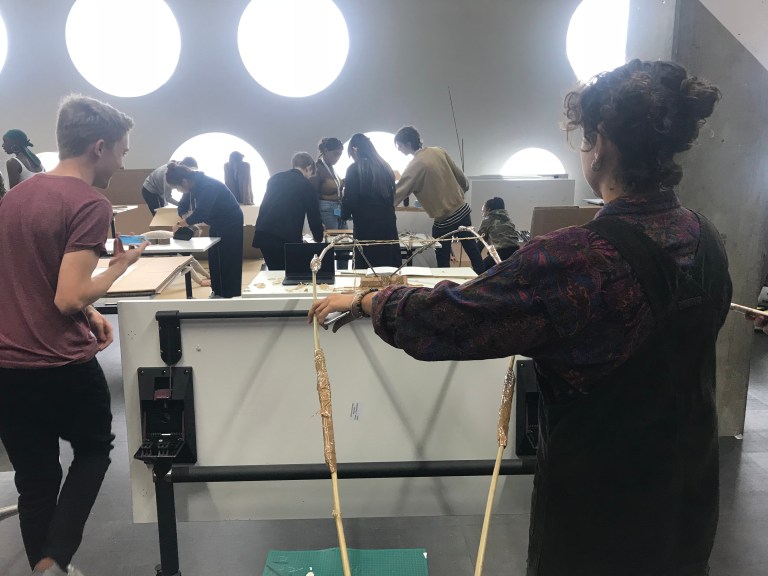 Once we created one bridge, we began creating the other half. We used the same technique that we began with as we found it was the most useful. However we found that once we had both parts of the bridge, it began leaning towards one side. This was an obvious issue for us because this meant that the car could easily fall off of the bridge. We didn’t get a chance to put up any barriers to contain the car which is something we would’ve done if we were given more time. Also to keep the structure of the bridge firm we used the rubber bands and attached it to tables nearby. This stretched the bridge out so it became balanced and wasn’t as tilted as before.
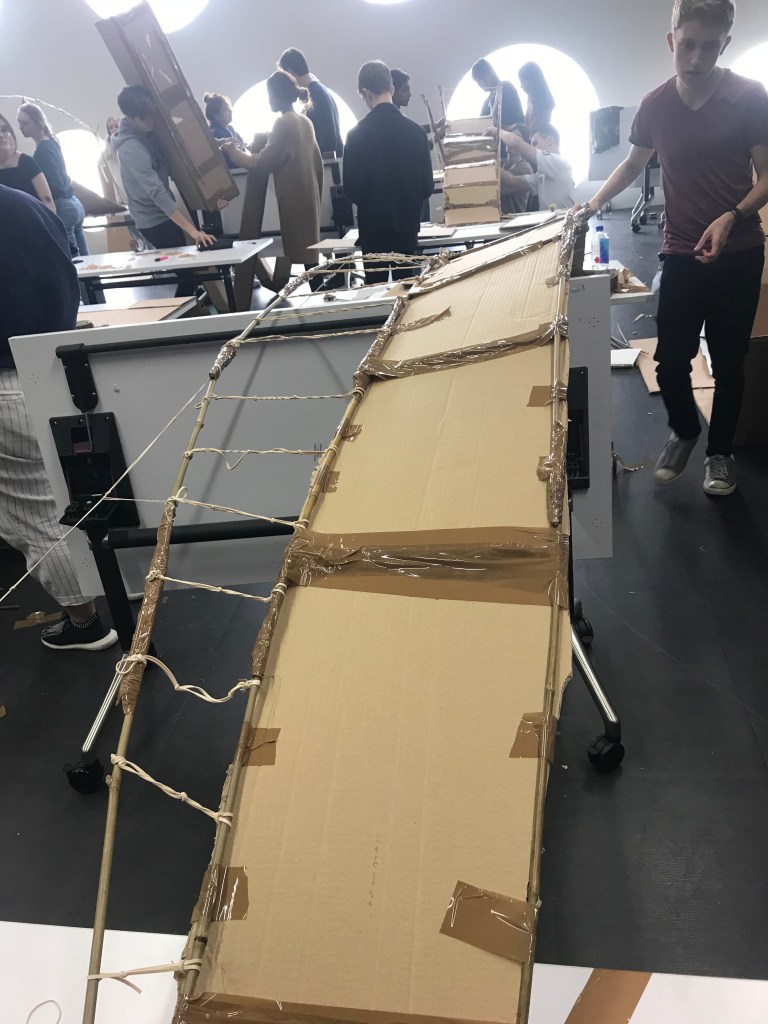 Once we had almost completed the bridge, we had to make the surface smoother so that the car wouldn’t have a problem when crossing the bridge. The layering of tape had created a rough texture which the car would not be able to overcome. To ensure that the bridge was as smooth as possible, we used a stanley knife to cut off any excess tape that was not needed and took off a few unnecessary layers. We had to make sure that we were being gentle as again, the bridge began to tilt and slide off the table. To make the bridge firmer, we just continued to layer tape onto the table to hold the bamboo sticks down.
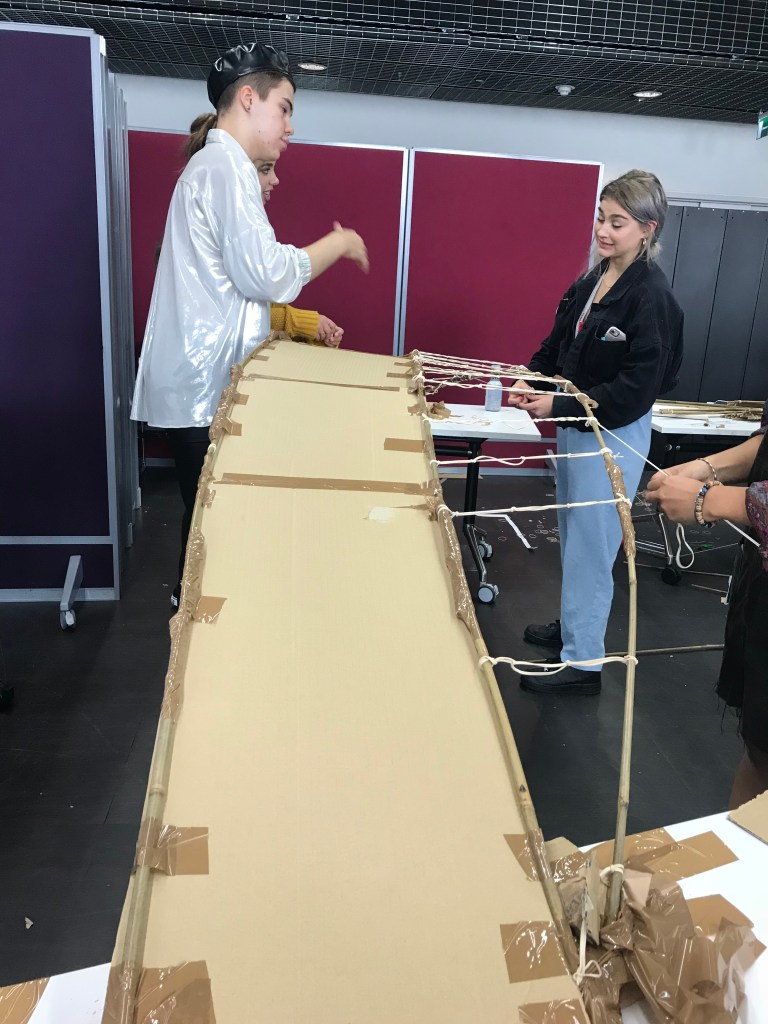 Overall, I thought it was very useful to see how we were able to overcome the different challenges that we were faced with and how everyones ideas equally contributed to creating the final product. To begin it was challenging because we had to create the structure ourselves and it was difficult to see the vision, however once we got started and pieces began to come together it got easier to understand what we were doing next. I was extremely proud of what we achieved as we didn’t just create a bridge but we made it look interesting to look at by adding the extra part of the bridge with the bands. It also came to use as it helped keep the bridge upright and balanced. However one thing I would add if given the time would be barriers just to make sure the car would stay within the walls of the bridge.
